Showing posts with label tutorials. Show all posts

Tuesday, December 31, 2013

charge into the new year with the paper antler party cracker - a tutorial

this is it
the very single last final caboose day of 2013
can you believe it

i give one final raised glass to this year
by presenting a tutorial inspired by the symbol of the year
the antler

here is a quick diy to allow your New Year's Eve party to go out with a bang
and to charge into the new year
the paper antler party cracker
designed for the Paper Crepe Company challenge mentioned here in my previous posts
merry and bright christmas and
hipster baby boy's first birthday


new year's eve paper antler party cracker tutorial


SUPPLIES

{all decorative supplies provided by the Paper Crepe}
tp tube
9" crinkle or thin textured paper
glitter paper
high quality patterned paper
twine
adhesive or hot glue
small prizes and candies

party cracker form

FORM

cut your crinkle or thin texture paper to approx 9" x 9" 
place tp tube on the inside centered
apply adhesive
since my cracker was made for a company party display and not to be opened it was not filled with special prizes
to create a functional pop-able cracker add just a couple more steps found here on this tutorial by


tie up party cracker with twine

TIE UP

carefully gather up each end and tie the ends


soften paper by crinkling

CRINKLE

here comes the fun part!
remember when you were a kid and you made your own leather by crinkling up paper brown bags until it became so soft
that is the same concept here
this is why you need a high high quality paper so it will crinkle and mold in your hand and not tear
crinkle away
it starts off rough but just keep going
crinkle and crinkle some more until it becomes soft and pliable


cut triangle for party cracker

CUT CORNER

do not try to flatten the crumpled paper
fold over a corner to form an elongated triangle approx 4" x 2"
and snip


antler branch form

FORM TWO

to form a branched antler cut an 1 1/2 to 2" slit starting at the shortest side of triangle toward the folded side of the triangle at an angle


twist to form double branched antler

TWIST

start twisting the paper to form your antler shape
twist and twist
don't be afraid to twist tightly if you have some serious high quality paper
you want it tight to hold its shape
use adhesives or hot glue to finish off your antlers

party cracker wrapper

WRAPPER

cut your wrapper from glitter paper approx 3 1/4" x 6 1/2 "
adhere paper centered on cracker
wrap paper around cracker and then overlap and apply with adhesive or hot glue


mounting antlers on paper cracker


MOUNTING 

cut a chevron arrow shape out of patterned paper approx 2 3/4" x 1 1/2"
adhere shape to center of glitter paper
glue antlers in the center of the chevron shape


new year's eve paper antler party cracker tutorial diy

and there you have it
the paper antler party cracker

enjoy your New Year's Eve friends
look back with gratitude on the blessings of this past year
and charge forward with conviction to make this next year one with no regrets 
as you love more 
find more courage to those things which will bring the greatest joy for yourself and those around you
and dare to dream and act upon it

here's to living life with passion and conviction

Friday, November 22, 2013

radiator grate ornament holder diy tutorial: a blue christmas blog hop

radiator grate Christmas ornament holder with silhouette welding letters diy tutorial

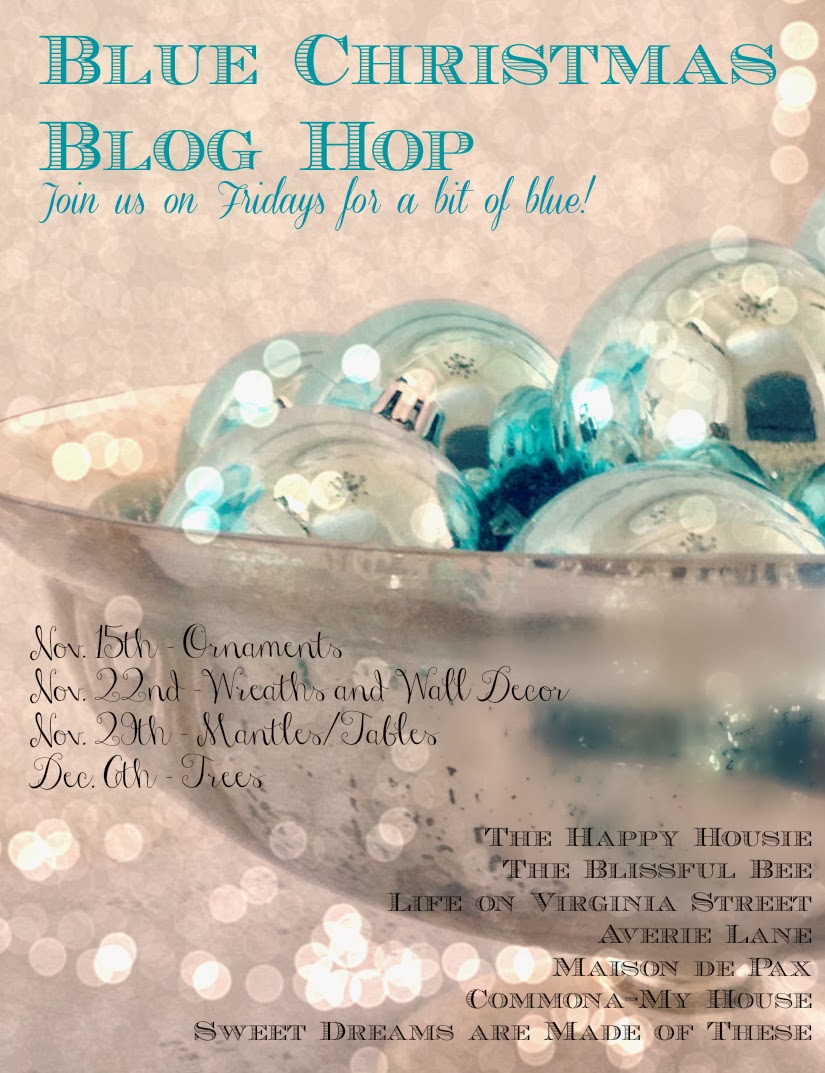
hello again from the Blue Christmas Blog Hop
welcome to all my new readers from around the blogosphere
to see week#1 ornament collection from our lovely bloggers, visit here

this week is wreaths and wall decor
i was inspired by my favorite globe ornament to find a way to highlight it in a non-traditional display
an so the idea of the radiator grate ornament holder began
combined with a fabulous lesson on how to use the welding option on my silhouette cameo

supplies for Christmas ornament holder

radiator grate and frame

SUPPLIES

high quality glitter paper
a few of your favorite ornaments
jewelry chain
jump rings
jewelry pliers
ornament hangers
tiny hole punch
adhesive dots
radiator grate {i found mine at home depot}
metal sheers
painted frame
metal picture back holders {i found mine in the framing section of michael's}

CUT

using your metal sheers, cut your radiator grate to fit perfectly inside your frame
it feels pretty powerful slicing through metal like its nobody's business


cut radiator grate


SECURE

secure your radiator inside of your frame using metal picture back holders
i placed mine about every 4 inches or so using a putty knife


framed radiator grate


SILHOUETTE WELDING MAGIC

i followed this amazing tutorial on welding letters on your Silhouette by findingnana
my mind was blown at how many uses i could have now for welding letters
you will be floored at how easy it is
i chose to but the reason back into Christmas and typed the words
rejoice He is King

i had to use a little spray adhesive on the back of the glitter paper to get it to secure to the Silhouette cutting mat
i put my blade on the highest setting and it did beautifully
be sure and do a test cut first


welding letters with silhouette cameo
rejoice he is king

ATTACH

measure how long you want your wording to hang on your radiator grate and then cut accordingly with your metal sheers
using your tiny hole punch place two holes on opposite sides of your wording
with your jewelry pliers open your jump rings and place inside the hole
attach one end of the chain inside the ring and close
repeat for the other end
place an ornament hanger at the center of the chain

jewelry making supplies for radiator grate Christmas ornament holder
rejoice he is king merry christmas

HANG

hang your wording in the center of your framed radiator grate
i applied a few adhesive dots behind the wording to provide extra stability
hang your ornaments
and drape your Christmas lights over the top corners

framed radiator grate Christmas ornament holder diy tutorial
hang your favorite ornaments
Christmas ornament holder
framed radiator grate Christmas ornament holder diy tutorial

LIGHT UP

plug in your lights for that added holiday cheer
simple and fun
early Merry Christmas everyone

radiator grate Christmas ornament holder with silhouette welding letters diy tutorial

christmas lights on radiator grate

don't forget to hop on over and see these other fabulous ladies' 
blue christmas wreaths and wall decor

Krista @ The Happy Housie
Amber @ Averie Lane
Rachel @ Maison de Pax

blue christmas blog hop

Friday, November 15, 2013

plasti-dip pine cone ornament tutorial: a blue christmas blog hop


ever since i came across this tutorial when planning for craft explosion two years ago
i have been wanting to play with plasti dip
the enticement of taking something rather ordinary
and creating something more resembling a work of art
has remained in my mind all this time
when i was invited to be a part of the Blue Christmas Blog Hop with Amy from Commona My House
i knew exactly what i wanted to try
since the regular can of plasti dip was a little out of my price range
i decided to try my hand at the spray version
i didn't know what to expect
what i discovered was something rather fun


SUPPLIES
something ordinary like pine cone picks from the dollar store
spray plasti-dip {i purchased my from home depot in the paint department}
glitter in varying textures

PREP WORK
you need some serious ventilation when working with this stuff
be sure to lay down paper or plastic to protect your surface from overspray
you will get a major workout shaking this can until you hear the metal ball rattle around before spraying
be sure to stay about 12" away while spraying

SPRAY
wait a minimum of 30 seconds between coats

COAT 1


COAT 2


COAT 3


GLITTER
sprinkle your glitter on top following your third coat of plasti-dip


COAT 4


DRYING TIME
four hours of drying time is recommended before use


RESULT

the transformation of an ordinary pine cone was complete
the four coats of plasti dip dried fairly translucent
not quite as white as i was hoping
but i love how the glitter seems to have crystalized inside the medium

i am happy with the way they turned out
and it has sparked a greater interest to try another object
to try maybe letting the coats dry longer in between
to try not shaking the can as long as it says to so it doesn't spray as thin
to add more coats

i would love to hear what you would plasti-dip
have you tried the spray kind before?
chime in with any tips or experience you have had

BLOG HOP

be sure to check out these fabulous blogs
and their Blue Christmas Ornaments
hop on over and tell them hi from our Sweet Dreams are Made of These readers

Wednesday, November 13, 2013

hipster baby first birthday cake bunting tutorial

hipster baby boy first birthday cake bunting

i decided a cake bunting was a must
whether there was a cake or not

here is a quick overview of how to create your own hipster baby first birthday cake bunting

i utilized the SUPPLIES they provided us
bakers twine
aqua ribbon
patterned paper

and added a few elements of my own
bamboo skewers
solid colored paper
styrofoam circle

tassel making tutorial

TASSELS
wrap your baker's twine around a piece of cardboard at least a dozen times
the more wraps, the thicker your tassel
carefully slide the cardboard out whilst holding onto one end of the wrapped twine
wrap another piece of twine around that one end multiple times to create the top and tie off
cut the bottom folds of twine in half
make three tassels


tassel making tutorial

RIBBON 
double knot your ribbon around one skewer
then double knot the end to the other skewer
leaving some slack in the center


silhouette cameo feathers

FEATHERS
cut feathers into varying colors of solid colored paper
i used this set of cut images for my silhouette cameo
the smallest size was perfect for this bunting
you can also trace a pattern or use other die cuts
choose five feathers of varying colors


hipster baby boy first birthday cake bunting

NUMBER ONE
cut a number one out of your patterned paper
i like how this little guy turned out looking quite fish shaped
like a little brave's fresh catch hanging on the line

TIE ON
carefully tie the ends of your feathers with the baker's twine
begin tying on your tassels and feathers onto the ribbon
i choose to tie the tassels on separately than the feathers


hipster baby boy first birthday cake bunting tutorial

GROUP
gather your feathers, tassels, and number one in groups of three evenly spaced out along the ribbon

feather and tassel birthday cake bunting tutorial

STICKS IN
if you are privileged to actually have a cake and not just a sorry excuse for one
press your skewers into the scrumptious surface of the cake
til candle lighting time

happy bunting making friends

Friday, November 08, 2013

hipster baby boy's first birthday: the paper crepe challenge


this past week as been filled with lots of projects
and you know i love a good project
well i was elated to be hired by an up and coming party supply company called The Paper Crepe
in collaboration with my dear friend Amy from Commona-My House
{another newly planted Utah resident}
to create displays for their party tour hitting the cities of Sacramento, Dallas, and Chicago

the challenge: 
to design themed displays using only a box of provided paper products, ribbon, twine, and washi tape that could be shipped, used, assembled, disassembled, packed over and over again!
not as easy as you may think
we were able to add a few elements to give it some height, stability, and structure
but not a whole lot

was i up for the task
of course

i snagged the idea of hipster baby boy's first birthday party
incorporating some of the trending shapes and graphics
triangles, chevron, feathers, teepees, tassels, and woodland elements

it was fun to see sheets of paper and rolls of ribbon and twine
quickly transform into the bones of a birthday party any baby boy would love and mama too
quickly
yes, did i mention that we had four days to complete the entire task


the elements of this hipster baby party display include:
name initial for little brave baby 'A'
feathered head band
teepee table display
cake bunting
straw holding canoe
goodie bag
triangle bunting
crepe paper criss cross wall display

be sure to look for little tutorials for some of these items coming soon...
as well as my Merry & Bright Christmas 
**{check out the hipster baby birthday cake bunting tutorial here}**

if you live in or near Sacramento, Dallas, or Chicago, be sure to check out The Paper Crepe Party Tour for dates

LinkWithin

Related Posts Plugin for WordPress, Blogger...